Block Paving: Replacing Concrete
by Peter North
Concrete patio slabs ensure a nice clean appearance to your garden, but they have one problem. The colour of your patio slabs will fade after years of exposure to harsh weather. Eventually, the pattern will disappear and you will be left with a garden or patio with a consistent concrete coloured surface. The move to block paving is a sensible option, but the expense can be quite off-putting – unless you do the work yourself.
The Preparation
The first thing you need to do is create a suitable surface for your block paving to sit on. If you have a patio already in place, it should be a simple process of lifting the existing slabs and levelling the surface below. With any surface, patio or block paving, you should always slope the surface away from the house. This is to stop water holding after rain and prevent damp developing in the walls of your home.
Once you have the surface to a level you are happy with, you need to place around a one inch bed of sand for the blocks/bricks to sit on. Before placing the blocks, it’s a good idea to have a design in mind and know where you are going to start from and which part of the garden or yard you want to work towards. It’s a sensible option to work from one of the longest walls of your home outwards.
The Pattern From Start to Finish
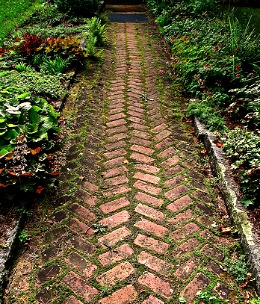
It’s a good idea to have a course/row of bricks running flat against your home to act as a sort of border to any pattern you create. Most people choose to create the border in a darker colour than the actual pattern so that it is perfectly defined. For instance a red brick pattern might have a cobalt coloured border.
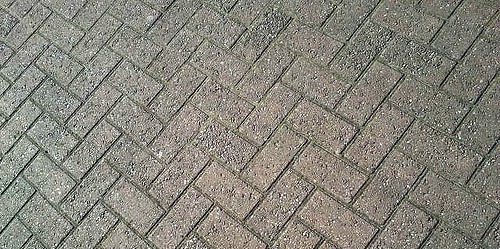
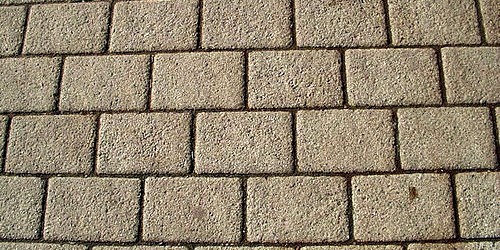
The four most popular patterns for block paving are 90 degree herringbone, 45 degree herringbone, stretcher bond and basket weave. The stretcher bond pattern is laid in exactly the same way as a brick wall is built with each brick overlapping the one below to form a solid surface.
The 45 degree herringbone pattern requires the most adjustments as blocks will need cutting more often. This is especially difficult if you have curved edges in your garden that you require the paving to follow so bear that in mind when you are choosing your style. A disc cutter is the cheapest tool for cutting blocks, but you can buy a specialists tool called a block splitter designed specifically for the job that makes a lot less mess.
Consistent Brick Sizing
The only difference is that unlike a brick wall, the blocks will not be held together with any cement. This means extra care has to be taken to lay the best possible bricks next to each other because the bricks will have formed to different sizes within a fairly wide tolerance.
With a cement bed at the end of each brick in the wall, a bricklayer is able to tap bricks into line and ensure consistency, but that luxury is not available with block paving.
The Finishing Touch
If you are laying the blocks to a loose edge, one that is not butting up to another wall, you should lay the edge in a layer of cement, but before you do that you need to get your level correct. The sand that you used to lay the blocks on will allow a certain amount movement and that should allow you to use a ‘whacker’ to give your surface the correct angle and to compact the blocks together. Despite the high cost of paying a contractor to complete this job, this is really something most people can accomplish if they take time and invest their effort.
Peter North is a former conservatory builder who has retired. He occasionally builds orangeries and conservatories for people on recommendation, but prefers to avoid block paving because of his temperamental back.
To Top of Page - Block Paving
Home - House Design
Please!


New! Comments
Have your say about what you just read! Leave me a comment in the box below.