Building a Log Cabin on Boulder Ridge
Building a log cabin? You would do well to consider the two projects my brother Jon undertook. The first, a handcrafted log cabin, is shown in another article. His second project expanded the first, but using what has become a more common approach to building a log cabin and is detailed in this article.
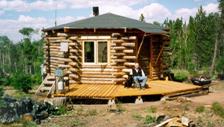
My brother and his dog enjoy some time on their porch in front of their cabin.
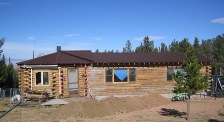
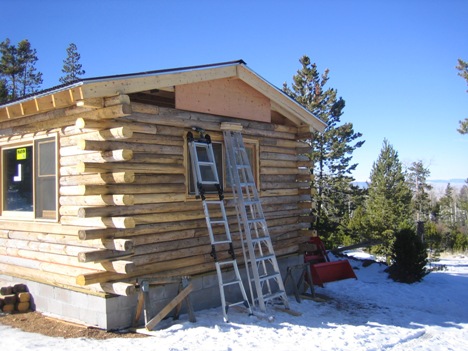
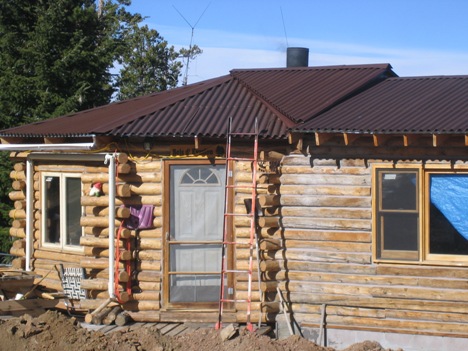
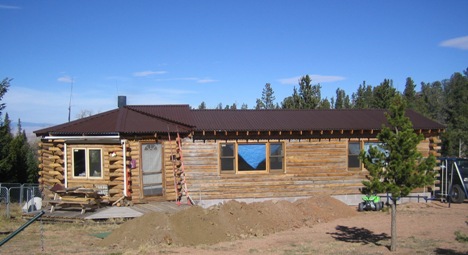
The first picture to the right is his starting point. This octagon-shaped log cabin was built by Jon about 20 years ago. It involved felling the trees, and this unusual design. The house sits elevated on top of posts. When it came time to consider expanding he had fewer trees to work with, a little bit more money, and a whole lot more experience.The second picture is the final product. The house now stretches out to the side. A rectangular addition abuts the original cabin. Rather than sitting on posts it rests on a cinderblock foundation, which gives him a basement and utility area. The wood did not come from his property, but was milled flat on two sides.
The new expansion doubles the size of the cabin The photos are in chronological order, from laying the foundation, to the finished project. Jon did the work himself, with help from family and friends. Building a log cabin requires lots of work, but it doesn’t always require professionals.
The original cabin is 24 feet across. The addition is 16 feet by 32 feet. The living area was more than doubled with this addition, and the basement area now provides storage previously unavailable.
Whereas Jon secured the logs together with 10” log spikes, in this addition he used 12” log screws made by Blue Ox. The logs are still butted together as with the first cabin.
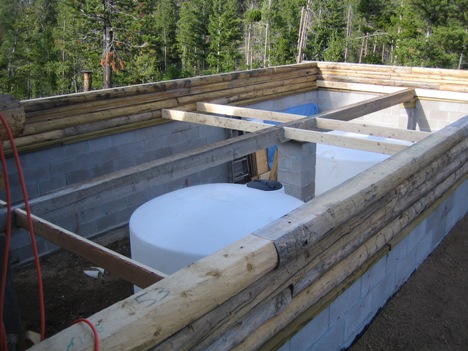
To ensure a good water supply he built in two, 1,000 gallon tanks into the basement. The tanks will provide a back up water supply, but also provide thermal mass to help regulate the temperature of the cabin.
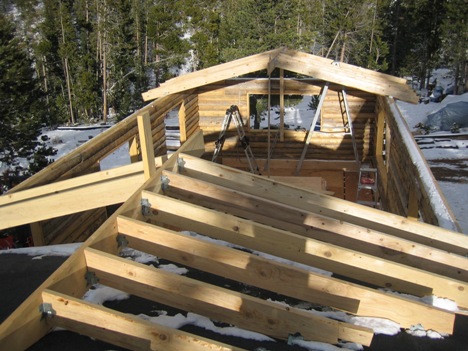
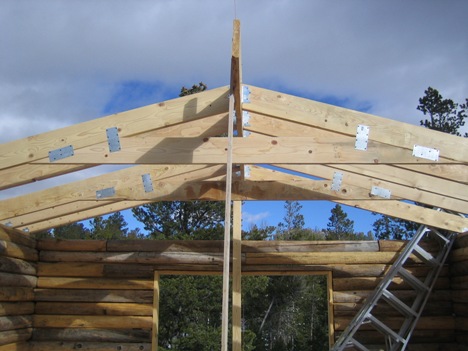
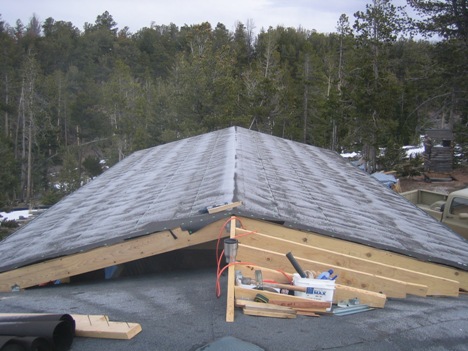
The rectangular shape made roof construction a lot easier. He placed the rafters in position first, with metal brackets joining them to the ridge board. Only after building out the rafters did he go back and join a cross cord to join the two rafters. He could have used trusses, but he is a long way from civilization, and it was a lot easier to haul individual boards.
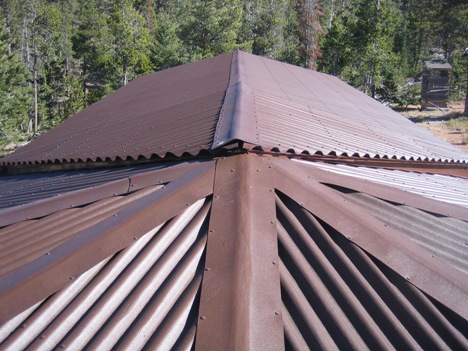
The hard part of the roof construction was joining the two roofs. Here he made sure that he wouldn’t have to worry about leaks by adding a second layer of roofing to cover the joint. It detracts a little bit from the shape of the house, but adds some peace of mind.
Shortly before constructing the cabin he had made two improvements that would make the addition a lot nicer. He added a septic tank system to handle sewage, and he drilled a well to supply water. With those two critical elements in place he was able to plan for bathroom space in the new addition.
If you want to learn more about his cabin, and the placement of the cabin on Boulder Ridge in Wyoming, please visit the first article at handcrafted log home.
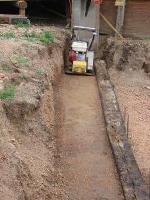 A good foundation is begun A good foundation is begun |
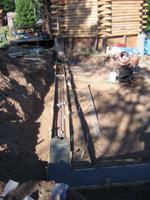 Cement provides a base Cement provides a base |
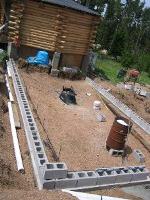 The block wall begins The block wall begins |
My nephew adds to the block wall
The basement holds 2 water tanks
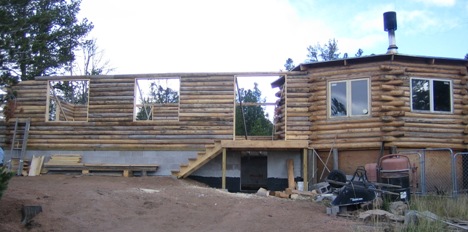
The windows are defined and ready for the walls to go higher
Step-by-step the cabin nears completion
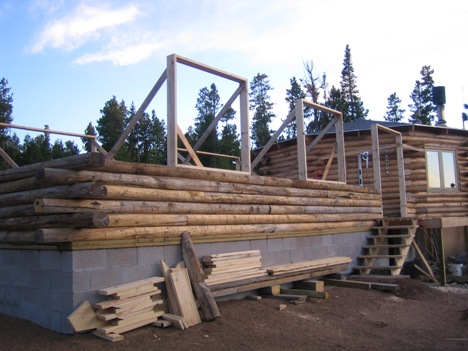
With the walls done, the roof goes up
The cord has been added to join the rafters in this photo
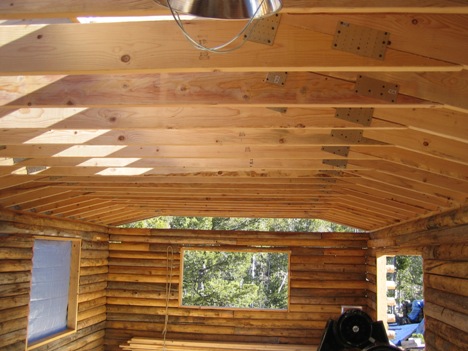
My only shot of the insides of the cabin
Here the roofing felt has been applied, but the joint has not yet been finished.
With the insides now protected it is back to the windows
The roof - its hard to tell but the joint between the two roofs is covered with a small third roof
A close-up showing how the two cabins join
The final product
Need more advice on building a log cabin? Visit the www.log-cabin-connection.com Tell us your Log Home story! We want to hear from you? Have any great Log Home pics? Dream home or nightmare, share with the rest of the world. Here is your chance.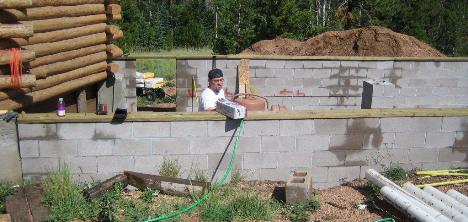
To Top of this Page - Building a Log Cabin
Go to Jon's First Cabin
Return to Log Homes
Home

New! Comments
Have your say about what you just read! Leave me a comment in the box below.